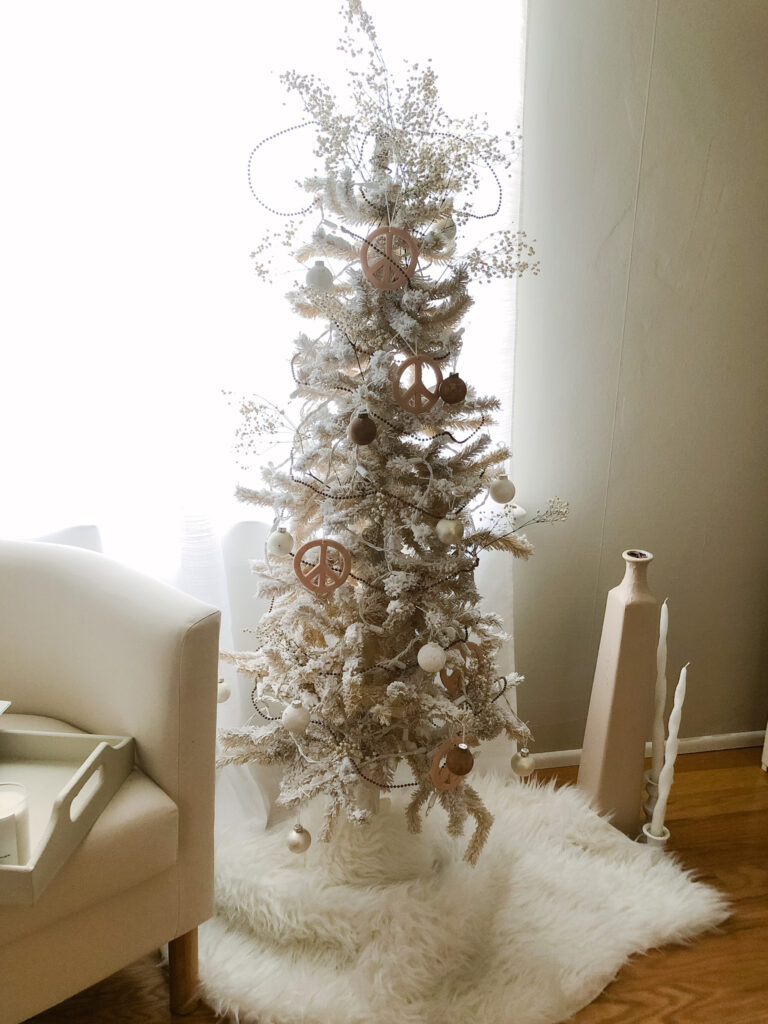
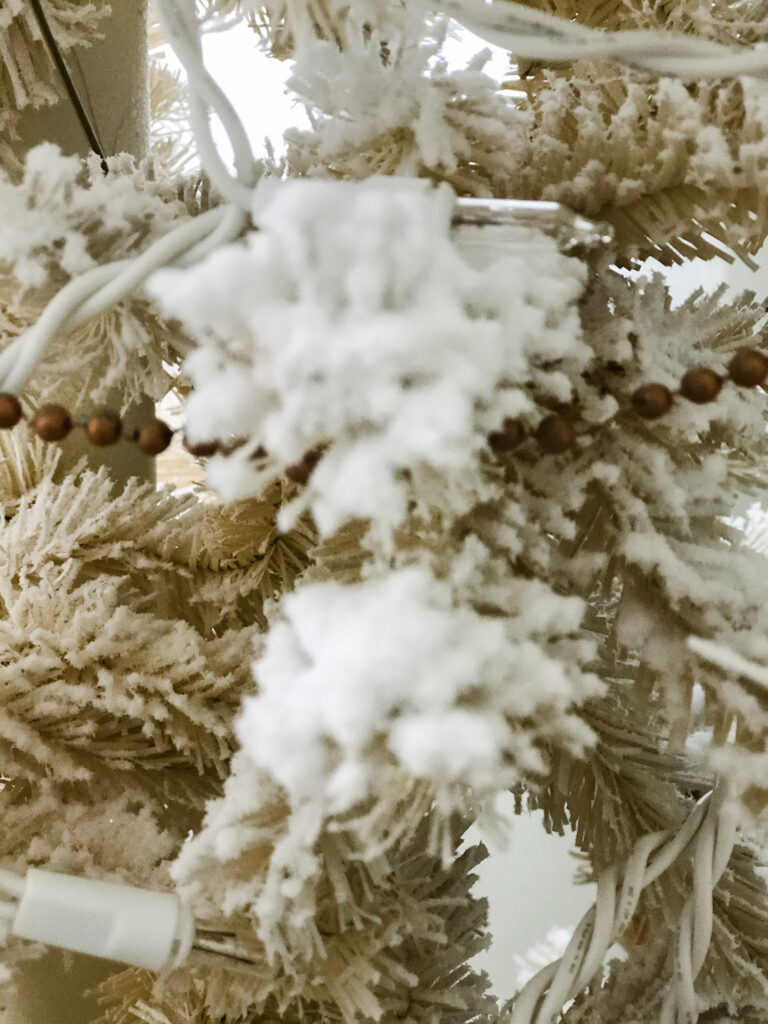
Last year I saw this gigantic flocked Christmas tree at my flower market and fell in love! The look of the snowy branches made me feel like I was outside walking in a Christmas tree forest right after a fresh snow. Of course, I wanted to re-create this look on one of my trees I already had at home.
what you need:
- artificial tree with no lights (to be honest, I’m not sure if this would work well on an already pre-lit tree- not sure what happens if those lights were to go out because the snow flock hardens and stays in place) PS, my tree is white, not green but this looks so pretty on both colors
- water spray bottle
- sifter or if you want that clumped on look which I did in certain spots, you can just slowly dump the snow flock on your tree (I don’t think a sifter is 100% needed)
- snow flock or as the brand name is spelled SnoFlock (link to the exact kind I used below)
- box or sheet or something protecting the ground
- note: I ordered one bag and used half with my little tree so depending on how large your tree is / how thick you want it to go on will determine how many bags you will need. You can use this for many other projects, too. I put some on pinecones and it looked great!
instruction on how to flock
- first of all- do this outside or in a well ventilated area (I did this in my garage with the doors open, no car inside)
- the actual white snow flock will go everywhere so be careful and don’t do this on a windy day
- make sure to cover the ground with a trash bag or something because it will get on the ground
- let’s get started: you have your tree with nothing on it, you will want to mist the tree with water first just lightly, then a little at a time put your snow flock product into the sifter and sift and spray the water where you want it to stick on the tree
- you will see it going on the tree, it’s easy to do- work in sections and move around the tree
- try not to spray the water on the sifter, but right under where the snow flock product is coming out (the water on the sifter will start to clog up the sifter, so that’s when I just starting dumping it on and noticed that’s when you get that real heavy snow look that I love)
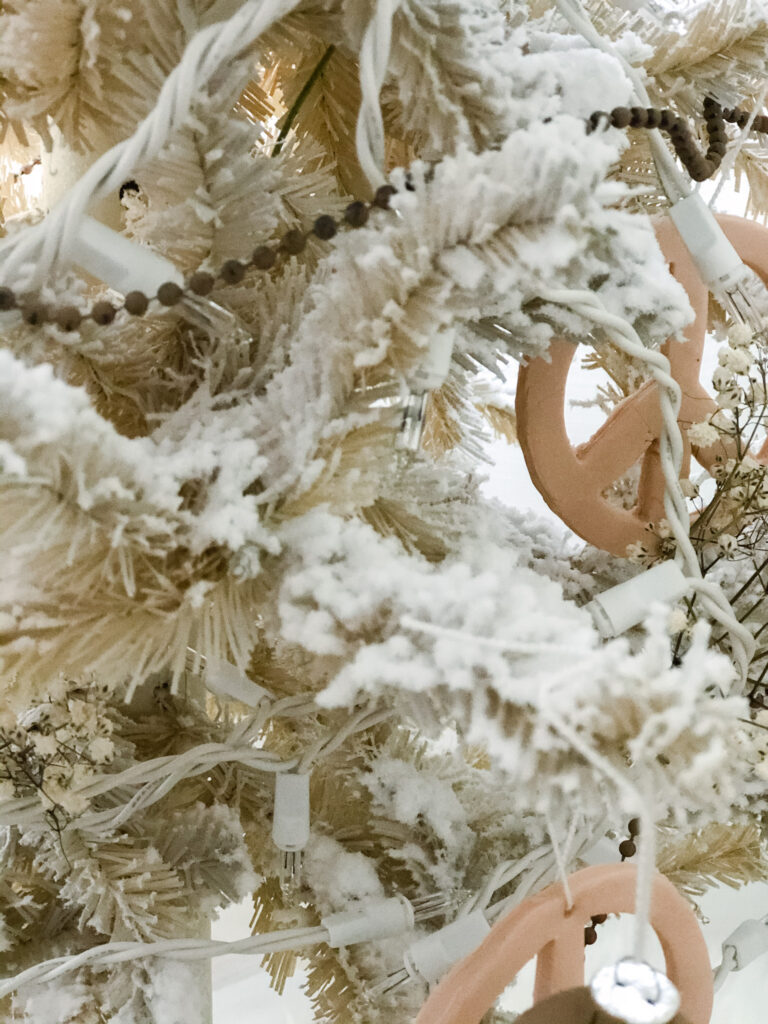
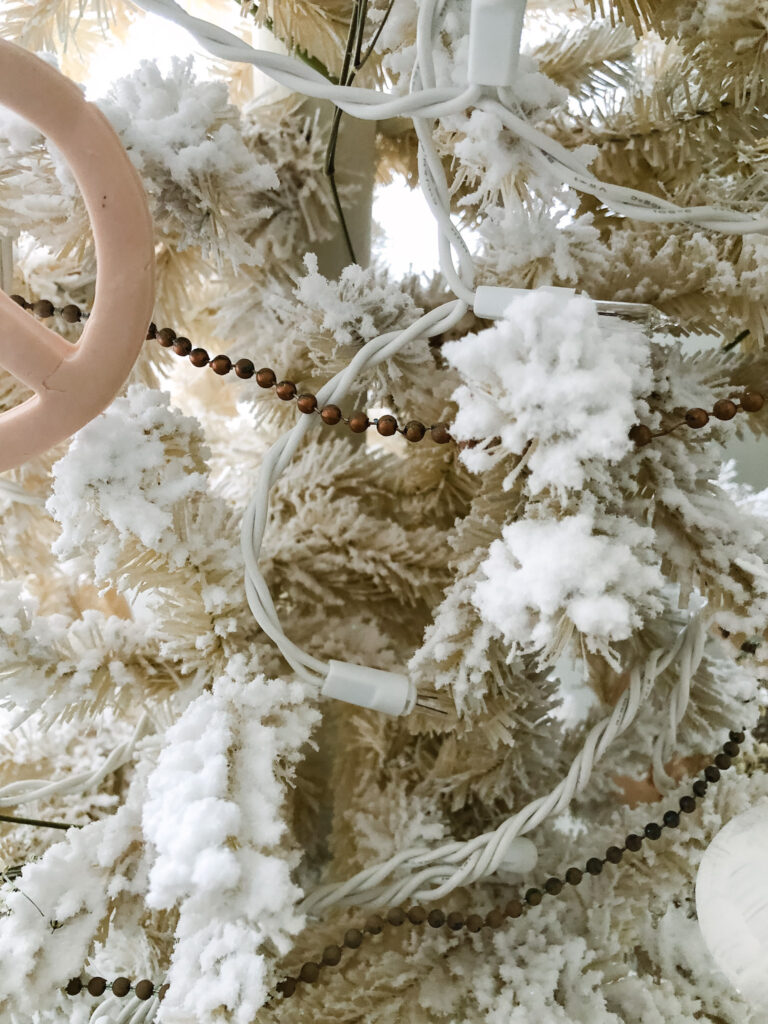
- after you get your tree covered, spray over one more time with water and let dry (I let mine sit over night in the garage) then in the morning it was set and hardened!

why i love it
This DIY was fairly simple and easy. I did have a smaller tree, so doing a larger tree will take more time and your fingers will hurt from spraying the water so if you have someone to help- that’s great or just do it in batches, there’s no need to do it all in one day. This project took me around 30 minutes with one person helping me. I ended up loving the results! The snow flock hardened and after shaking the tree, did not come off. Then you can decorate! You can check out my DIY clay peace sign ornament which is very easy to make and looks super cute! I also added some dried baby’s breath and mini painted ornaments.




 pink, blush, mauve faux flower centerpiece / decor ideas
 CB2 home decor and gifts all under $40
 DIY: ceramic inspired painting
 Table decor: winter wonderland


Leave a Reply