This DIY project has been my favorite to date for many reasons with the number one being taking old, ugly pieces and making them beautiful. It really brings me joy knowing all these containers, vases, really anything can now be painted to make them work in your home. Shape is the most important part and paint color, but other than that- it’s the easiest DIY! I hope you can give this DIY a try and give new life to something that would otherwise not be used or thrown away.
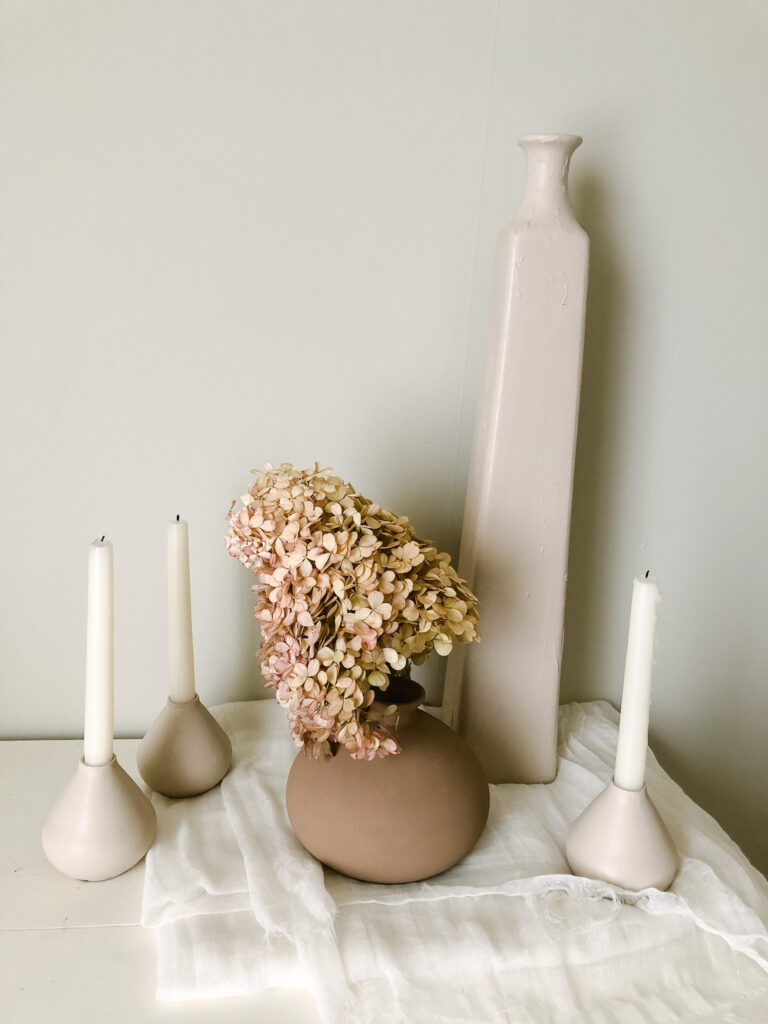
it’s a must diy project!
- it’s simple
- it’s inexpensive (like under $5) for one vase
- it’s taking something old and using in a new way
- it’s beautiful in the end- like really, it is!
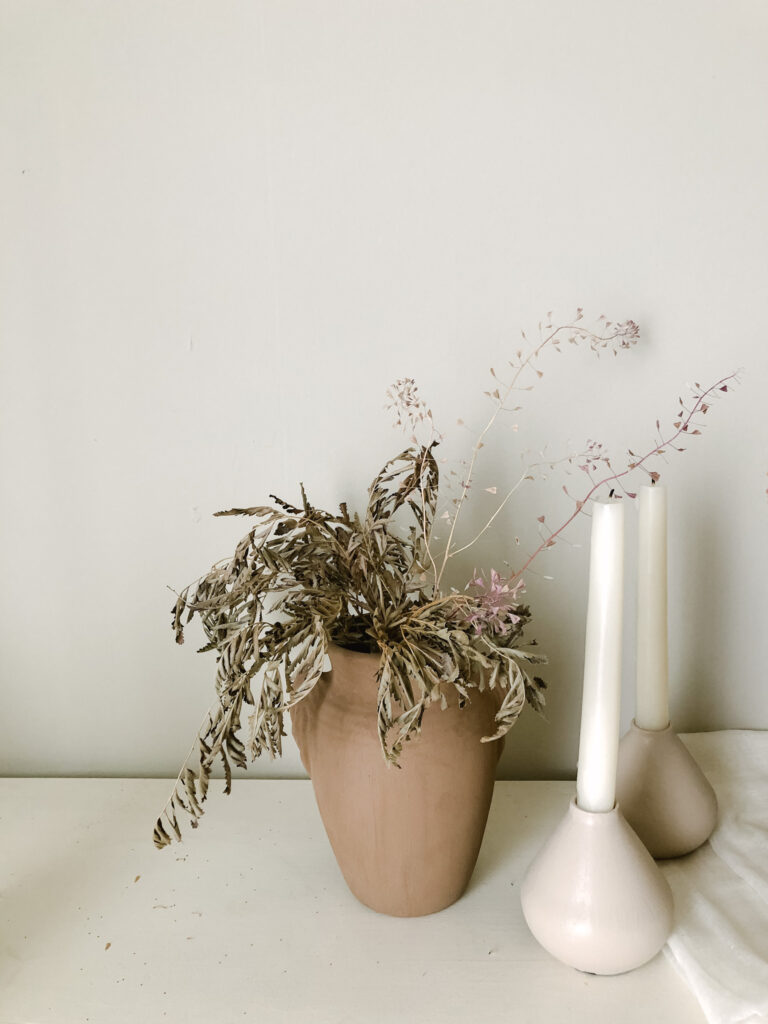
what you need:
- a vase, container, really anything that has a good shape (I used a tall vase, 2 medium sized vases, and 3 taper candle holders)
- acrylic, indoor paint (I use the .50 paint from Walmart- linked below)
- baking soda
- paint brush
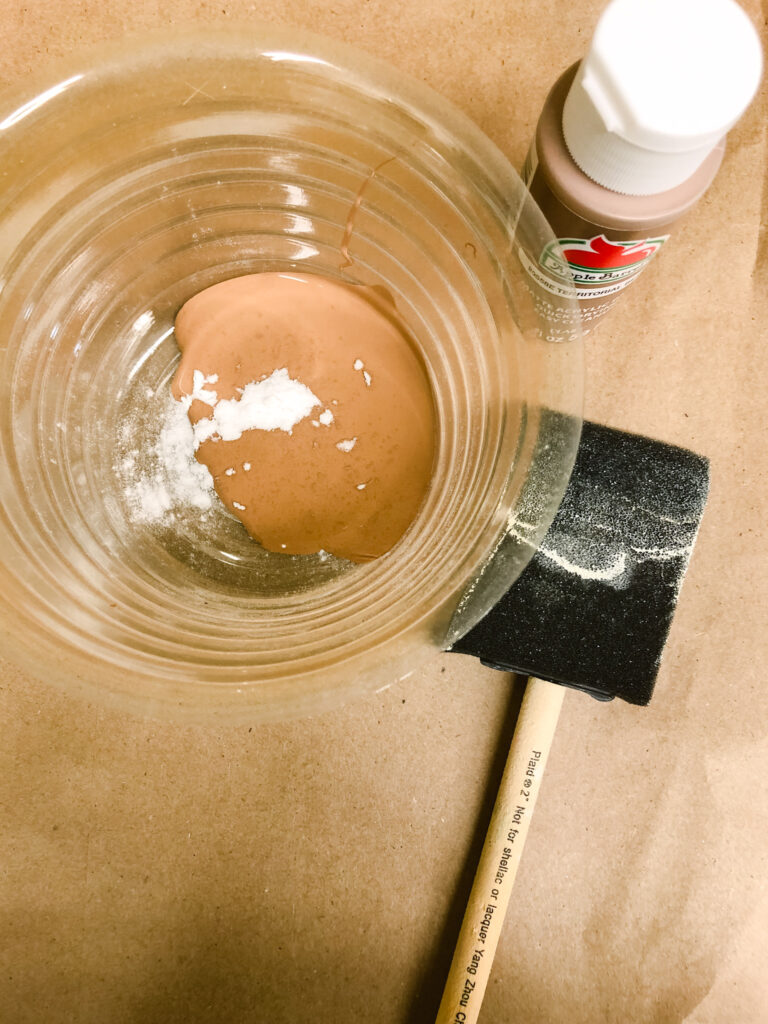
what’s the deal with the paint?!
When I first started this DIY project, I was like can I use any type of paint? I’m sure yes, it will work with any type of paint. To get that ‘ceramic’ look, you need the reaction between the baking soda and the acrylic (water based) paint. This will make the paint more thick and dry more on the matte side (ceramic inspired).
How to get this look:
- first dig out any old containers or go to the good will store or to your grandma (there always seems to be an abundance of vases just laying around)
- look for shape, not color and select what you like / what will look nice in your home
- wash and dry your selections
- place vase on old newspaper or something to protect your table surface (I don’t know about you, but I’m so messy when painting)
- prep your paint by adding 1/2 cup (just eyeball it) of paint and 1 tablespoon of baking soda
- always add more baking soda than you think (I didn’t add enough at first but you want the paint to turn a thicker consistency)
- you can always add more paint or baking soda depending on the size of your vase
- don’t worry, you can’t mess this up!!
- start painting your first coat (it won’t look like much or look good at all at first)
- allow first coat to dry completely (if you don’t the paint will start to peel off)
- NOTE: you can paint on glass but it does scratch off more easily. I read to use a paint primer first, but I really don’t care too much as these are just for me and I’m not a perfectionist. Also I enjoy that not perfect look as it resembles more real life ceramic work which is usually a little imperfect.)
- after your first coat of paint is dry go ahead and do a second- allow that to dry
- at this point it’s your call on whether to do a third coat (I only did a third on my orange vase because the surface was very slick and glass and I scratched some of the paint off so went ahead and did a touch up third coat.)
- that’s it- enjoy and style in your home
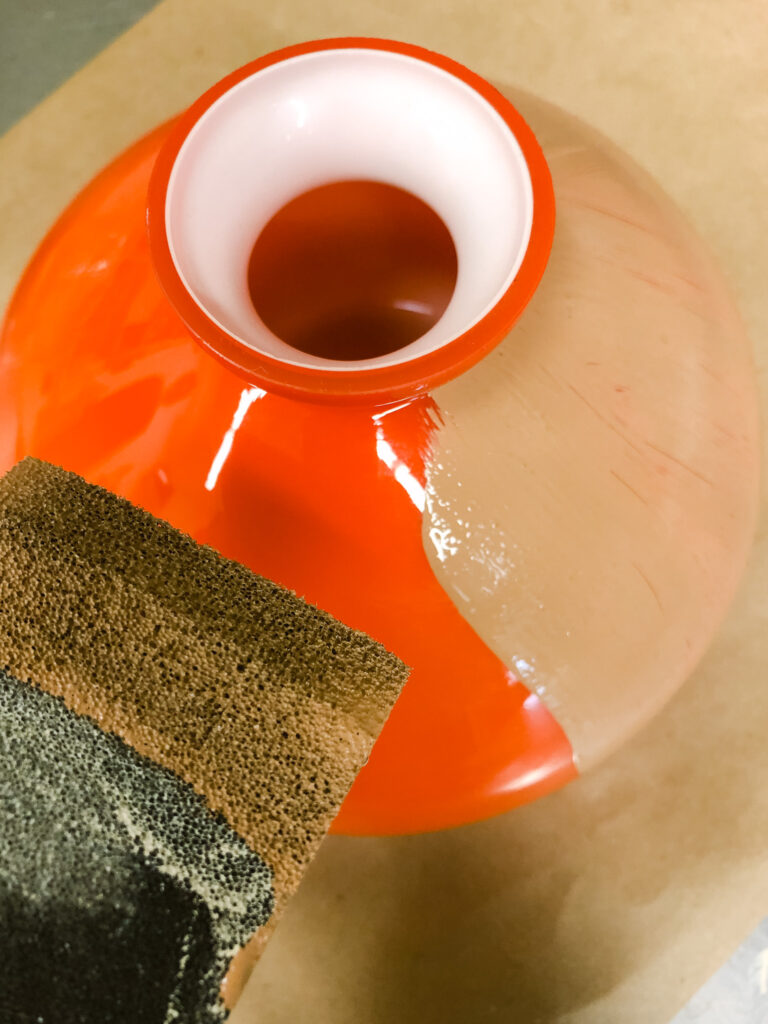
Orange glass vase with the darker beige paint. This one held the paint, but did scrape off the easiest. Just be careful.
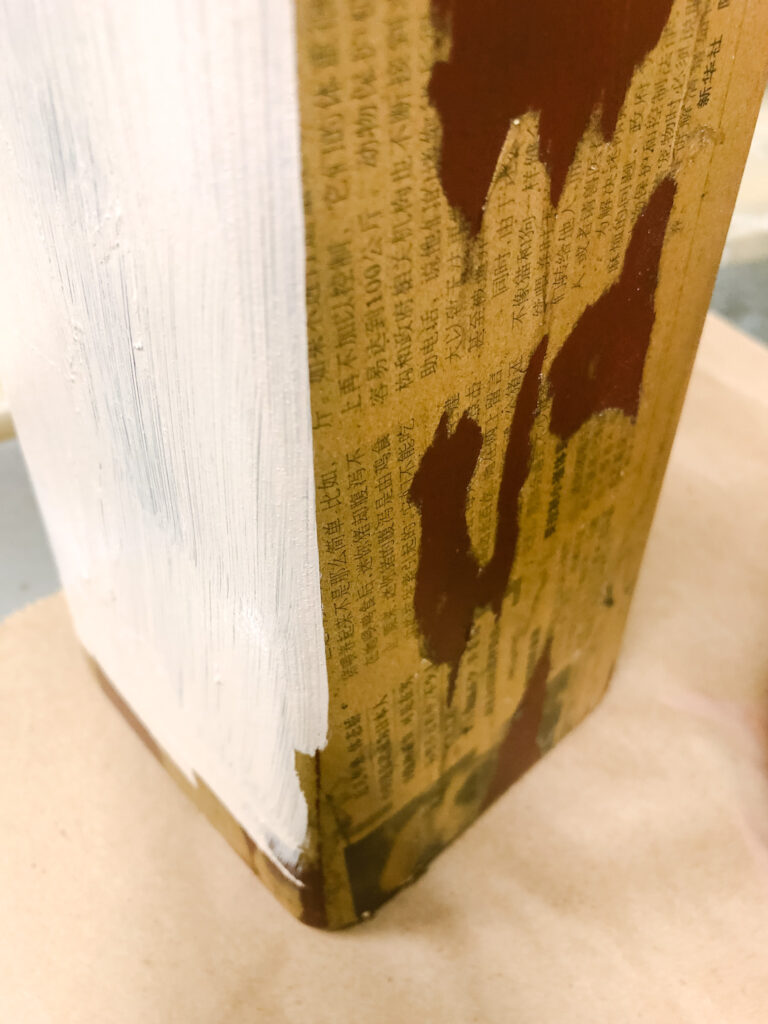
This is my tall vase with some texture and the lighter beige shade. I did two coats of paint and it covered the red color up nicely.
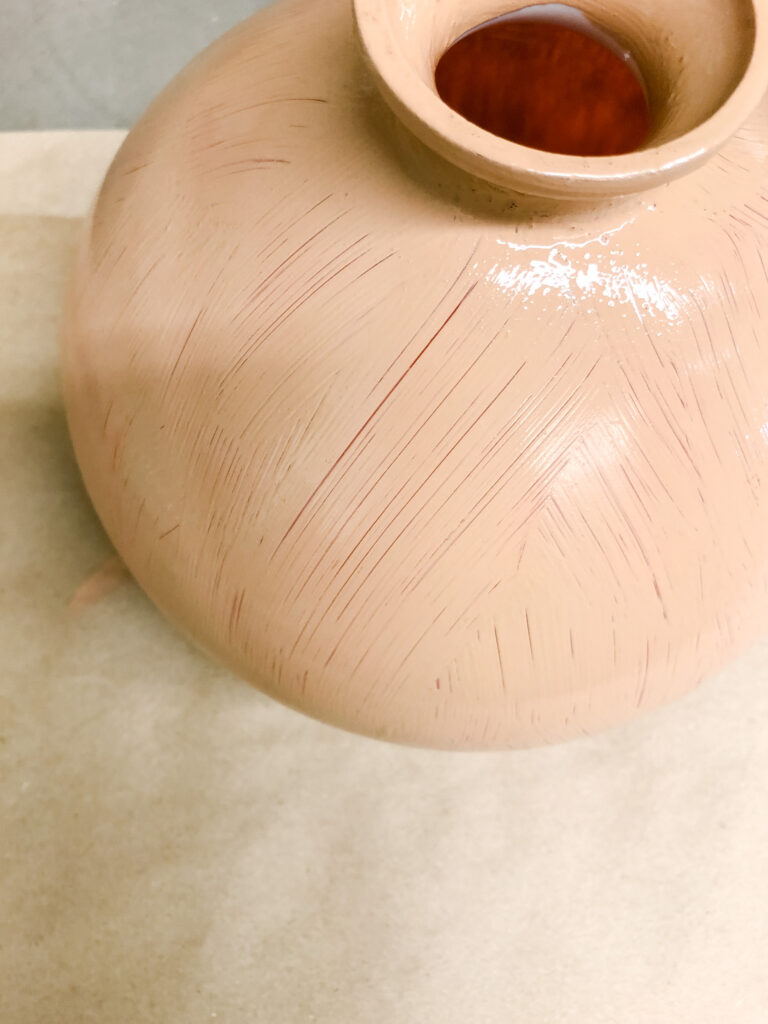
First coat which looks bad, but just keep painting (after it dries fully!)
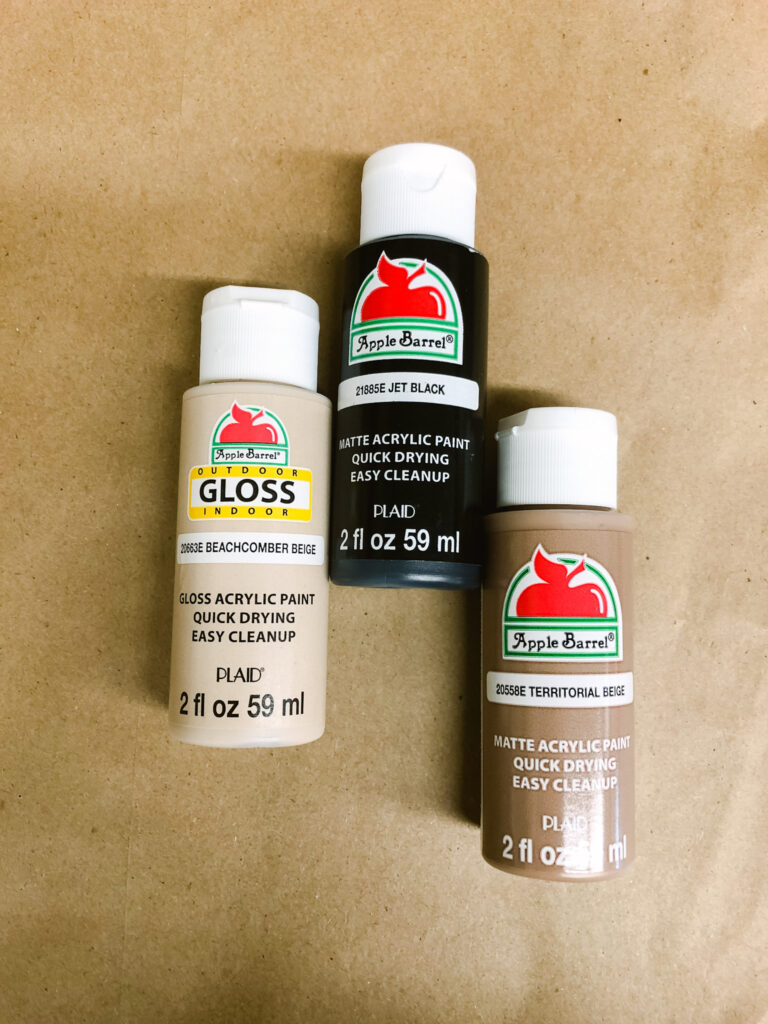
3 types of paint I used. I didn’t notice the lighter beige was gloss, but that didn’t seem to make a difference. All 3 went on well and the color is true.
Overall this project is SO simple. The toughest part is waiting for the paint to dry between coats.
I hope you enjoy this DIY and please share with me if you try this!! Email: [email protected] or tag @oliveandgene on IG.
PS: the linking isn’t working great, but the photo above is exactly what I bought. They have SO many pretty colors to pick from!

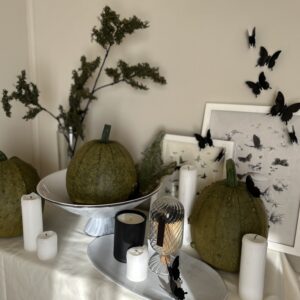 halloween / fall decorating ideas
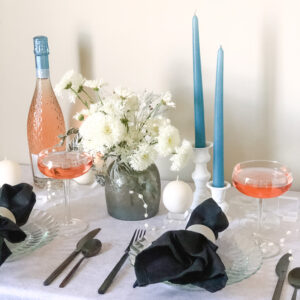 At Home: new year’s eve table decor
 DIY: flocked Christmas tree
 Guest Bedroom Budget Friendly Remodel Inspiration with Neutral Color Tones


Leave a Reply