When April starts to roll around and little buds start to turn green, I get such an excitement because I know flowers will start blooming soon. This day was April 30th and as I drove to my flower shop, I saw all these beautiful flowers blooming in yards and along the road. But my yard was bare, nothing in full bloom and ready to pick.
I decided to take a little drive way out in the rural area where it’s pretty much farming fields to see if I could find any road side flowers. What do you know, to my surprise, a bunch of daffodils just blowing in the wind in a vacant field. And beautiful old fashion white ones to top it off!
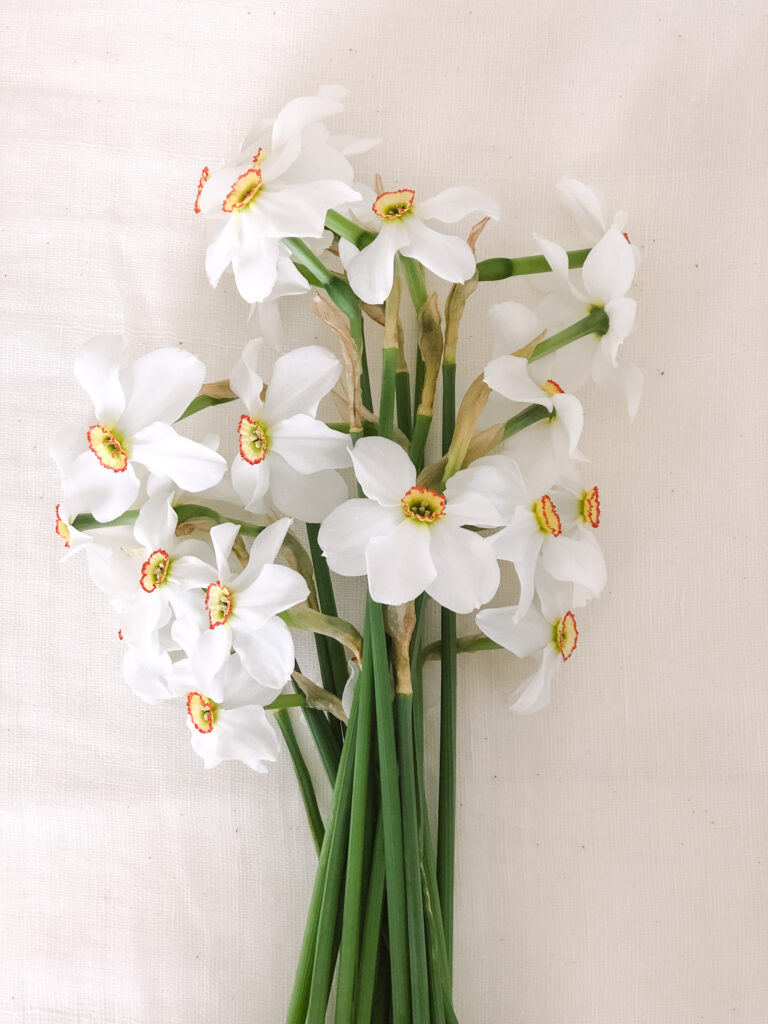
Processing tips specific to daffodils:
- when you give the stems a fresh cut, they will release a substance (feels very slick and slimy)
- you will need to let them soak in a vase of fresh water so the substance can dissolve before mixing in with other flowers (it can shorten the vase life of other flowers)
- you can also rinse with water until you don’t feel anymore of the substance being released (like I did, here, only using the daffodils it doesn’t matter if they are mixed because they are all the same)
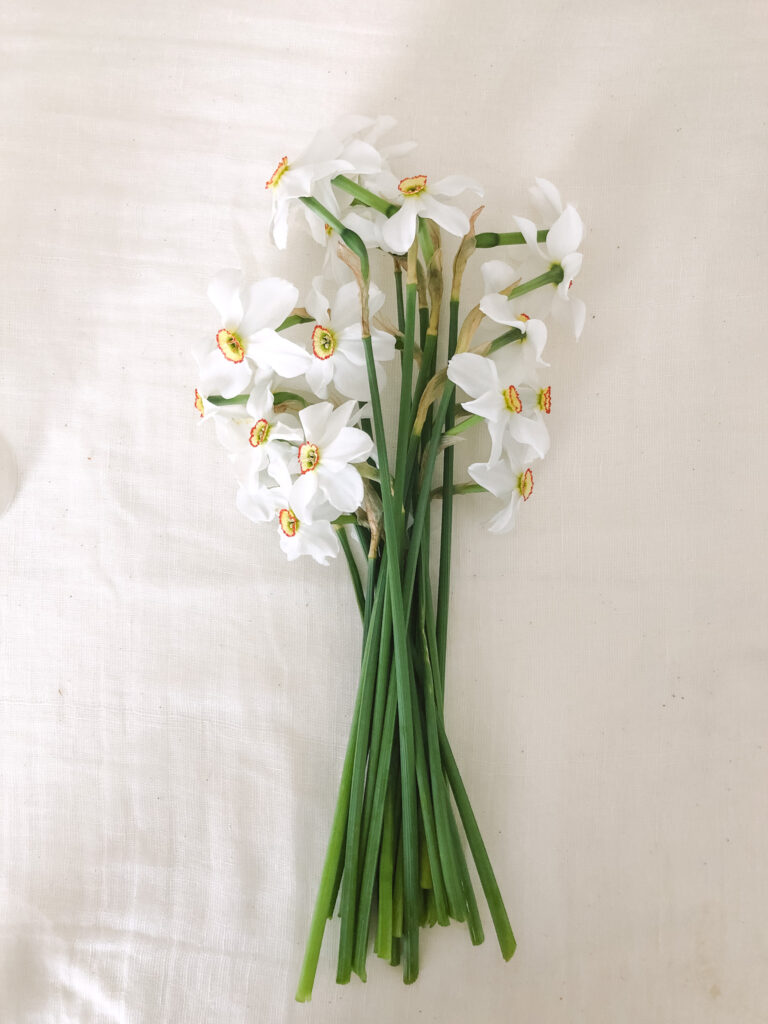
- to continue processing the flowers, remove any unwanted leaves, greenery, petals that don’t look fresh
- for the following arrangements I used flowers that were picked from outside so I’m not sure the exact quantity, but if you were to purchase some bunches I’d say 3-4 nice sized bunched will work (also the size of your vase will determine how many bunched you need)
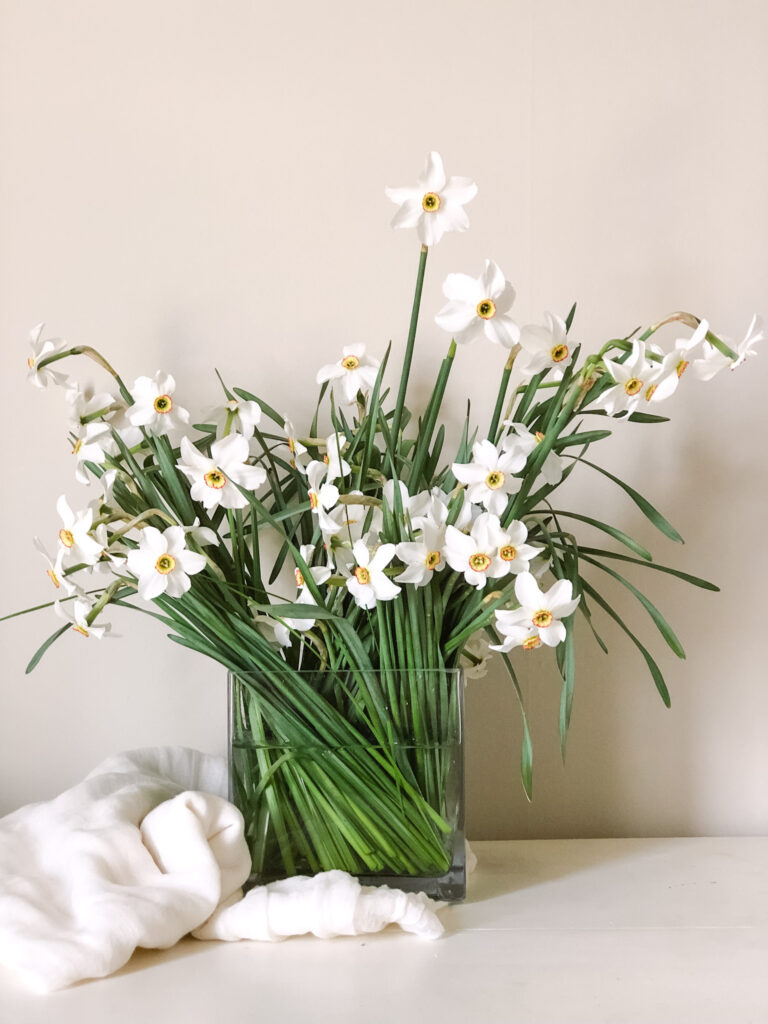
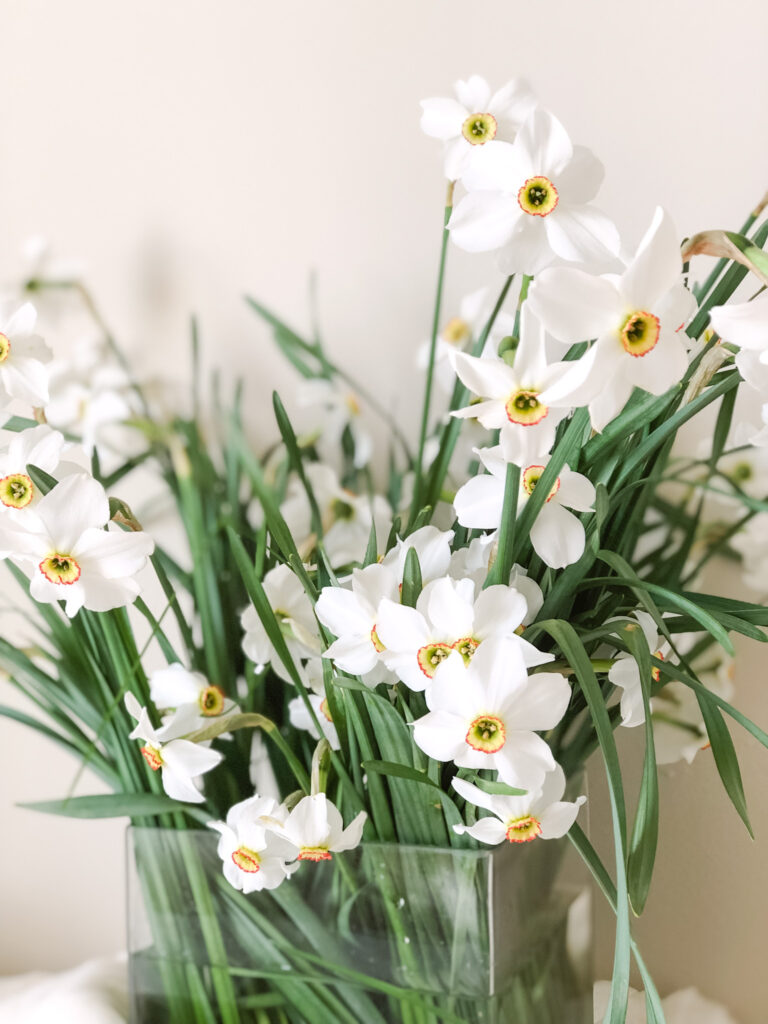
Arrangement one: table centerpiece
This type of design will be the most hands on, but still very simple. The lower height and fuller width works great for a table centerpiece, as it fills the vase fully, all around with flowers. Here are the steps:
- grab a clean, lower shaped vase and fill with cool water (here I used a typical square shaped vase, but round or any shape will work)
- if you haven’t processed your flowers (from the steps above) go ahead and do that now
- divide the whole bunch of flowers into 3 separate bunches and cut stems at different lengths (this is how we get the ‘natural’ look and feel to the design)
- start taking little bunches of flowers and angling them into the vase from all the corners as well filling in the center
- once you’ve used all your flowers, pull a couple stems up and out to create a more effortless, natural look
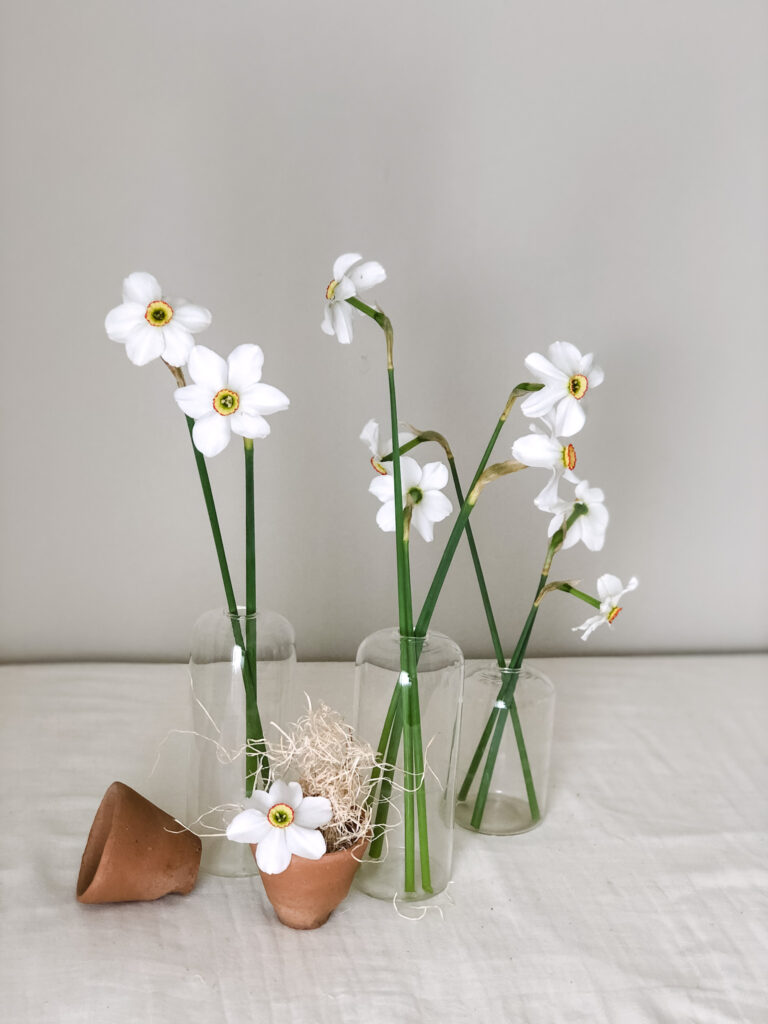
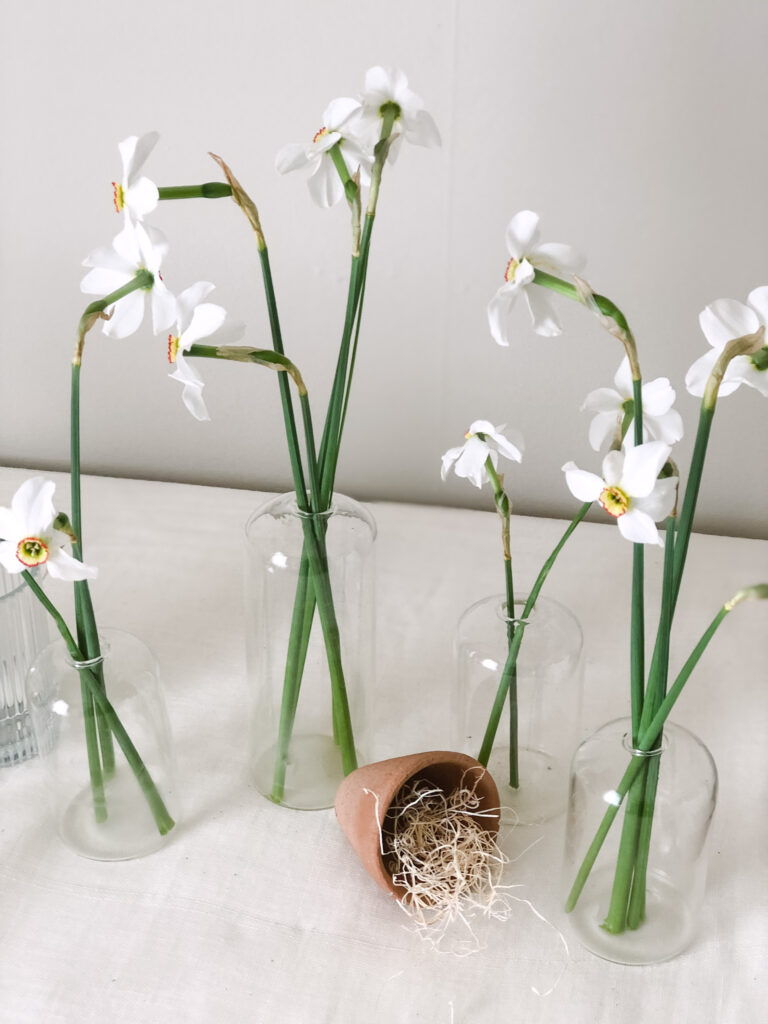
ARRANGEMENT two: the bud vase
The most easy and adorable way to arrange flowers.
- get your clean bud vase, any size will work and fill with clean water (here I’ve use 2 different sizes of bud vases for a more dramatic look, but use what you have and you can always cut the stems at different heights to achieve a similar look)
- cut your stems at different lengths and place into the bud vases
- that’s it – so easy and adorable
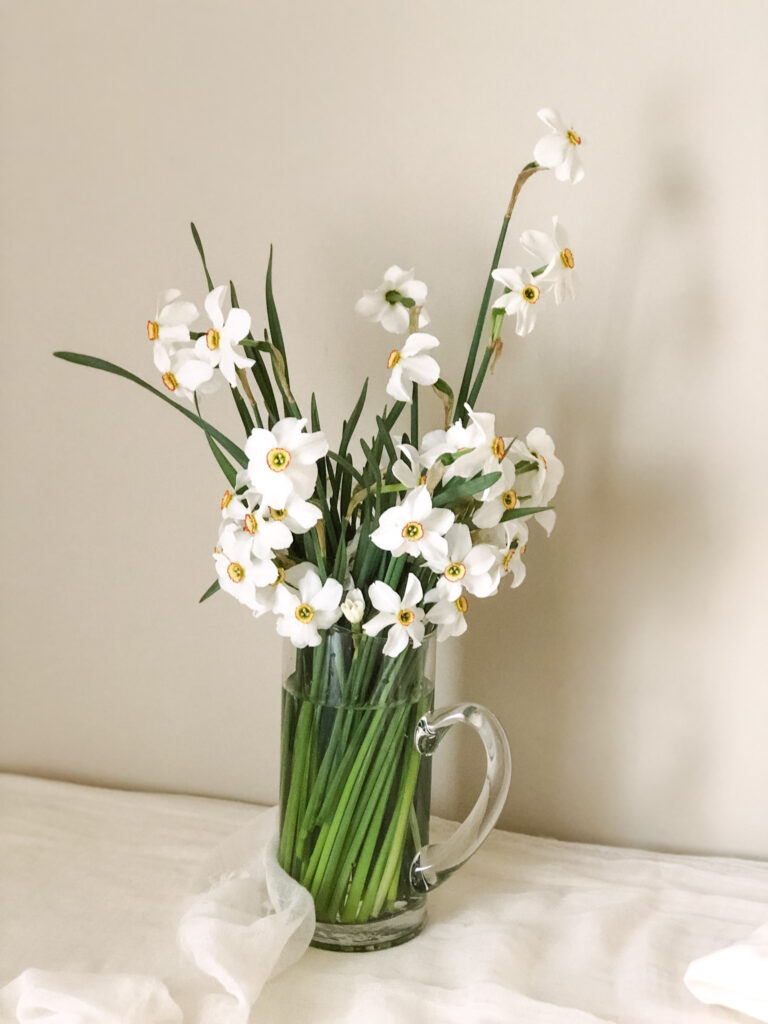
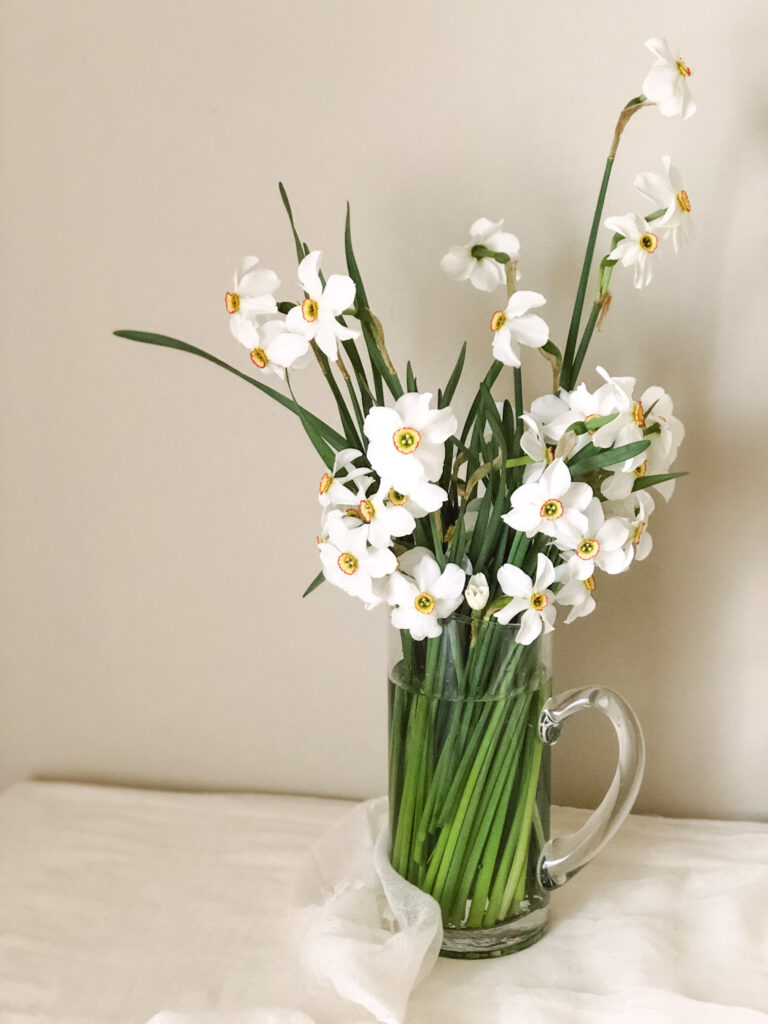
ARRANGEMENT three: tall statement piece
Another simple, yet beautiful arrangement that takes no time to create! You can use a water pitcher or any type of taller container you have.
- you know the drill (lol), grab your clean water pitcher and fill with cool water
- really no rhyme or reason to the design, just grab your flowers and stick them in the vase
- you can pull some up a little and push some down to create a more natural look, but really anything goes here – have fun and enjoy!
How beautiful and easy, too! Which style do you like the most?
low / lush centerpiece
bud vase
tall pitcher
I hope you have fun and remember with flowers there’s no ‘perfect’ or ‘wrong’. The flowers are already so beautiful, so just enjoy them!
Don’t forget to change out the water every other day with fresh, cool water. For a longer vase life, I always suggest not keeping them in a sunny window or warm spot. Cut flowers like to be as cool as possible.
 beach vacation planning ideas
 what we are loving for 2022. wedding and design ideas
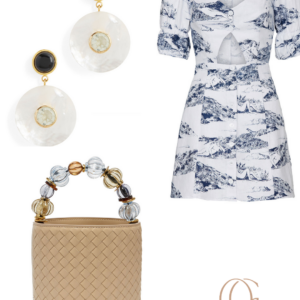 Rent your summer outfits with Rent The Runway
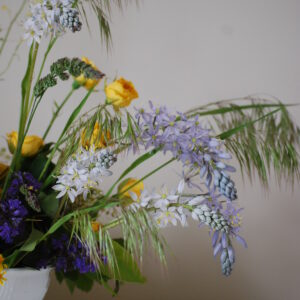 DIY Spring Backyard Picked Wild Flower Arrangement

Leave a Reply